Concrete furniture is in style, giving kitchens, dining rooms, and bedrooms alike an urban, modern touch. Many of these pieces of furniture can go for outrageous prices, which is why we wanted to provide you with a simple, affordable option that will not only look great in your home, but also provide you with a sense of accomplishment and bragging rights!
In today’s tutorial, we will be providing you with step-by-step instructions for how to create the perfect concrete dining room table using concrete repair products from Phoscrete, as well as a list of all of the different materials you will need. If you have any further questions about DIY concrete projects or concrete repair products, give us a call at Phoscrete today!
You Will Need:
Tools:
- An orbital sander
- Circular saw
- Drill
- Optional table saw (can use the circular saw instead)
- Small shovel to mix concrete
- Bolt cutters
- Flathead screwdriver or chisel
- Sanding block
- Concrete trowel
- Tub or 5-gallon bucket to mix concrete
- Rubber gloves
- A couple of plastic bags to mix cement paste
Supplies:
- Wire mesh
- Melamine wood (cut to the size you want your table)
- Silicon caulk
- Bucket to mix concrete
- Rubbing alcohol
- 1–5/8 inch drywall screws (will attach to sides of mold)
- 120 and 220 grit sandpaper for your orbital sander
- 1-2 pints of Phoscrete (depending on what size you decide to make your table)
For the best of the best in concrete repair products, shop our selection at Phoscrete today!
Instructions:
1. Determine your table size.
For example, you could create a buffet table that is 17 inches wide, 52 inches long, and 1.5 inches thick.
2. Cut the bottom of the mold out of melamine wood using a circular saw.
This piece of wood should be the exact length and width that you would like your concrete table to be.
3. Cut the strips that will serve as a border to the bottom piece and hold the table in place.
If you would like a 1.5 inch thick slab of concrete for your table, be sure to add ¾ inch to the strip so that they are 2-¼ inches tall. This accommodates for the width of the bottom mold.
4. Assemble the sides of the mold to the bottom.
Attach these pieces using 1-⅝ inch black drywall screws about every 8 to 12 inches along the sides. Drill a pilot hole to help it go in easier and be sure to drill in from the sides as evenly as possible.
5. Finish the mold.
Once the mold of your concrete table has been assembled, you will have a sturdy structure for your Phoscrete to be poured in.
6. Caulk the creases of your table mold.
Using painter’s tape, line the inside creases of your table mold. This helps to provide an even caulk line.
7. Use your (gloved) finger to smooth out the bead.
As soon as you are finished smoothing out the bead, pull the tape off while the caulk is still wet. Then use a paper towel to remove any caulk that may have gotten on other parts of the mold.
8. Let the mold cure.
This curing process should only take a few hours.
9. Create table reinforcement.
Once the caulk has cured, cut the metal wiring reinforcement to size using your bolt cutter. If your table is 52 inches long and 17 inches wide, you will want to cut the wiring to about 50 inches by 15 inches in order to leave about an inch on each side. Then, use some rubbing alcohol and a paper towel to give the mold a thorough cleaning, ensuring that all sawdust particles are out of the mold.
10. Mix your Phoscrete.
Now the fun begins — it’s time to mix up your Phoscrete! While Phoscrete is commonly known as a concrete repair product, it can be used for a wide variety of concrete applications and is easily mixed, easily cleaned, and long lasting. Follow the directions on the bucket to know just how much water to add. Once you have added the water, use a small shovel or a garden hoe to mix the Phoscrete until it has the consistency of peanut butter. If you find that it is too dry, slowly add a little bit more water, and if it’s too wet, add more Phoscrete.
11. Pack concrete into your mold.
Before beginning this step, make sure that your work table is as level as possible in order to ensure you will have a level table. Then, while wearing your rubber gloves, take a handful of concrete and start packing it into the mold. Continue doing this until your mold is filled up a little bit more than halfway.
12. Add reinforcement.
Once you have your mold filled up a little more than halfway, you will want to add in your reinforcement wiring. Simply place this reinforcement in place and then finish packing the rest of the mold with concrete.
13. Screed off excess Phoscrete.
Once the mold is filled, take a straight piece of wood and screed off any excess Phoscrete to level out your table. Continue screeding back and forth across the entirety of the mold multiple times and fill in any low spots with extra Phoscrete.
14. Vibrate the mold.
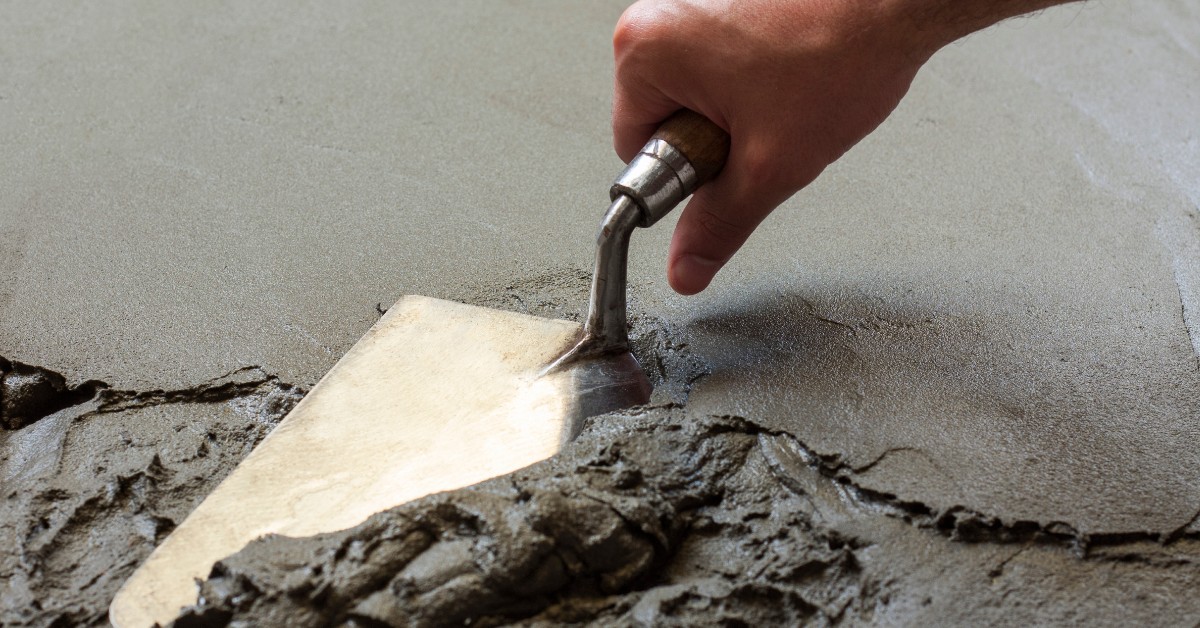
Once you are done leveling out your mold, slightly lift up your work table up and down to vibrate the concrete. Doing this will help to minimize the number of air bubbles in your finished table. Make sure not to skip this step as it is very important! Then, use the orbital sander or hammer to vibrate the air bubbles out from the sides. Finish off by using a basic concrete trowel to smooth the concrete.
15. Let the concrete cure for three to four days.
Now it is time to relax for a bit and let that Phoscrete mold cure in place!
Make sure to stay tuned for part two of our blog where we will be showing you how to put the table together after the mold has completely dried. We know waiting is hard — but we promise it is worth it! In the meantime, you can get started with your new urban modern dining room table by ordering your Phoscrete concrete repair products online and getting part one finished just in time for part two! If you have any questions regarding our Phoscrete concrete repair products, how they differ from traditional concrete, or would like some guidance on how to use it, be sure to check out our website and give us a call today! Our team would be more than happy to assist you with anything you need. See you soon for part two!

